
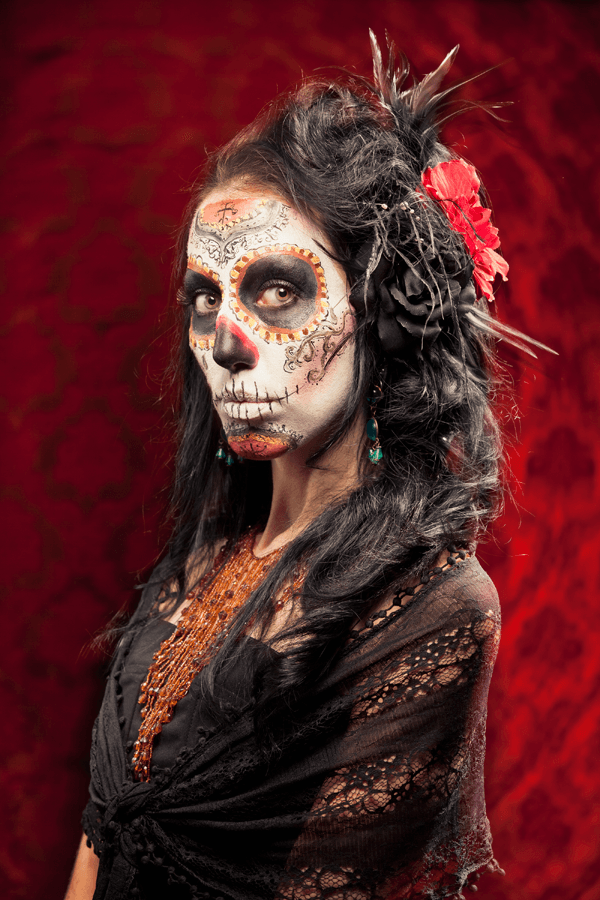
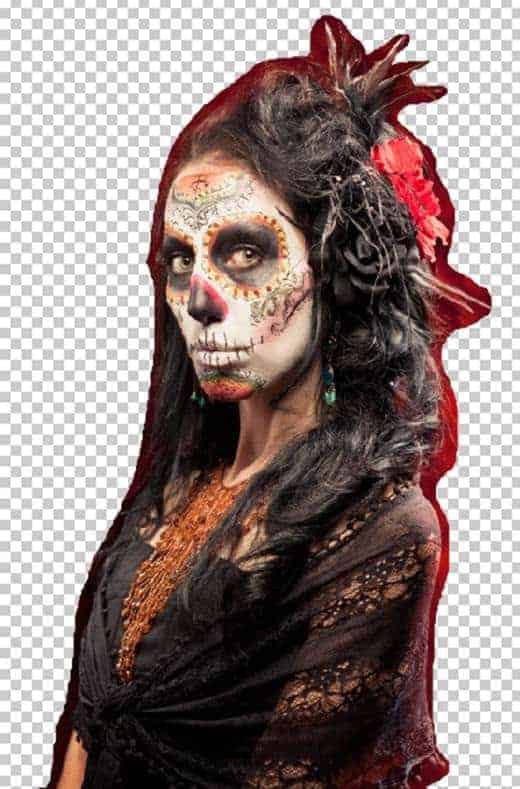
Step 1- Choose the Model.
This Picture is great to create this type of manipulation, because the model’s make up help a lot
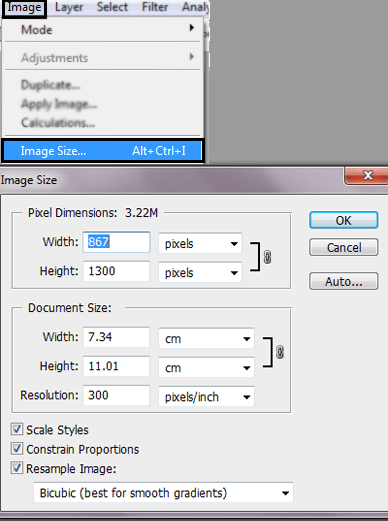
Step 2 – Change the size.
To do this go to Image -> Image size. Or Press (Alt+Ctrl +I). Resize the image to: Width:837 X Height: 1300 pixels and press ok.
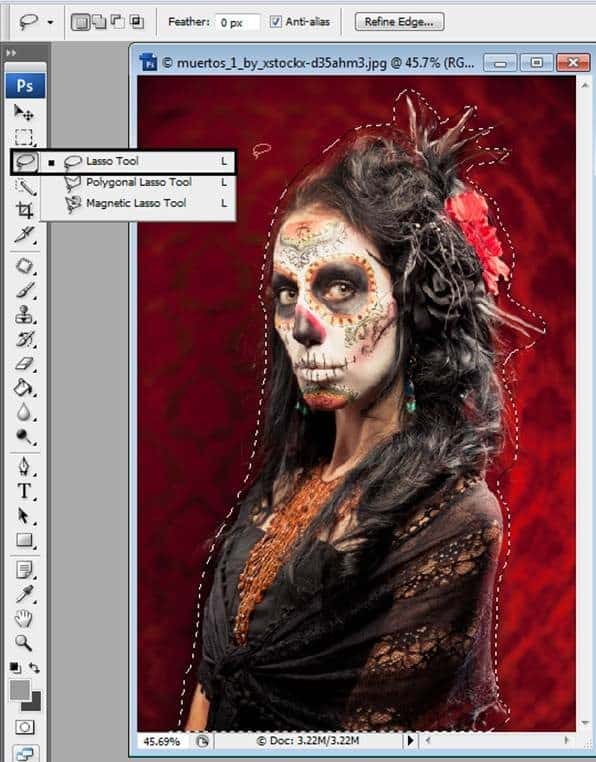
Step 3- Select the Model.
Use the Lasso tool to Select the model.
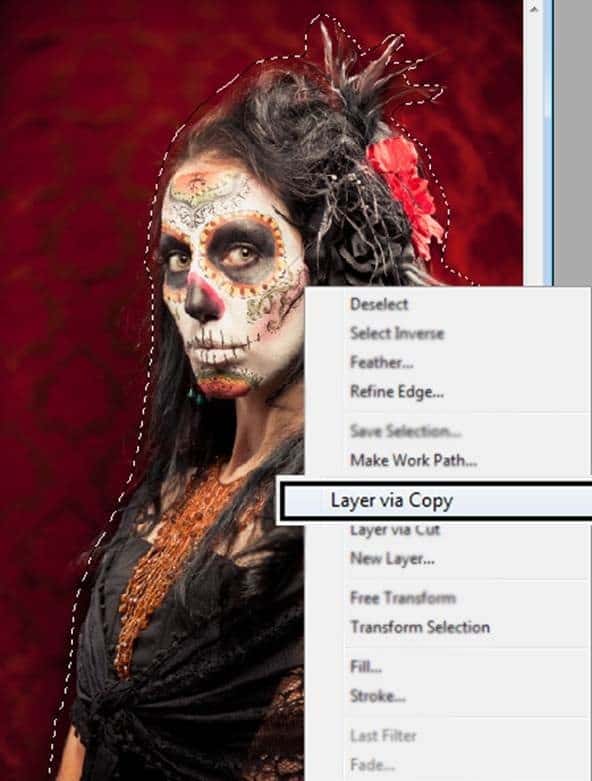
Step 4- Duplicate a Layer
To duplicate that selection press Ctrl + J. Also you can give a right click in the selection and press the option Layer via copy.
You are going to have something like this:
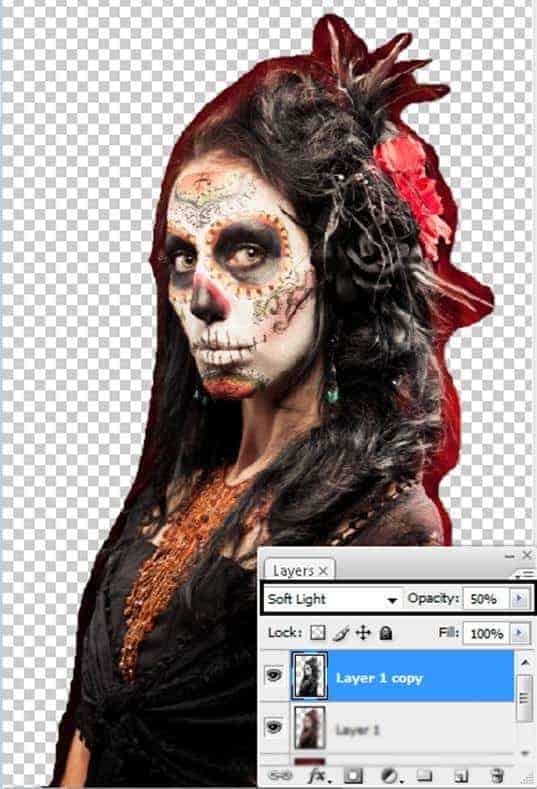
Step 5 – Less Saturation
Duplicate the layer once again (Ctrl + J). In this layer reduce the Saturation (Ctrl + U) option Saturation: -100.

Step 6- Set the layer blend mode in Soft light.
To get more contrast use the layer in soft light mode with and reduce the opacity by: -50.
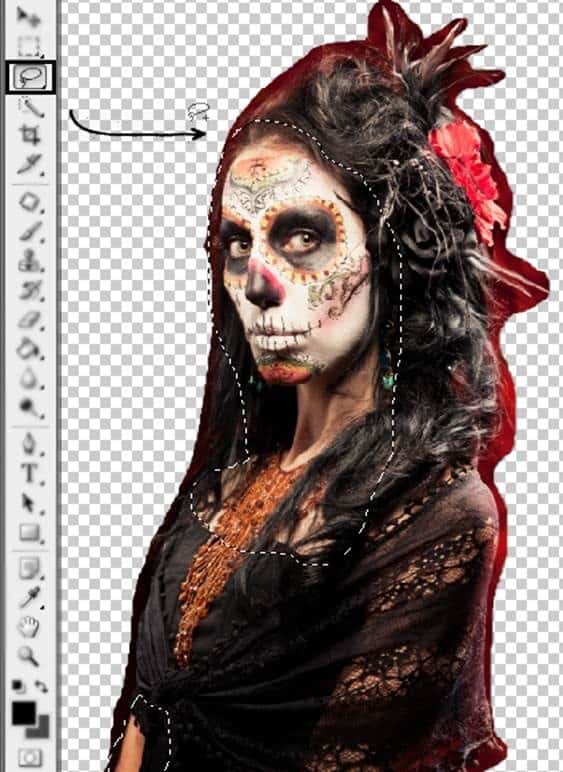
Step 7- The Skin
Use the Lasso tool to select the model’s skin and duplicate the layer (Ctrl +J).
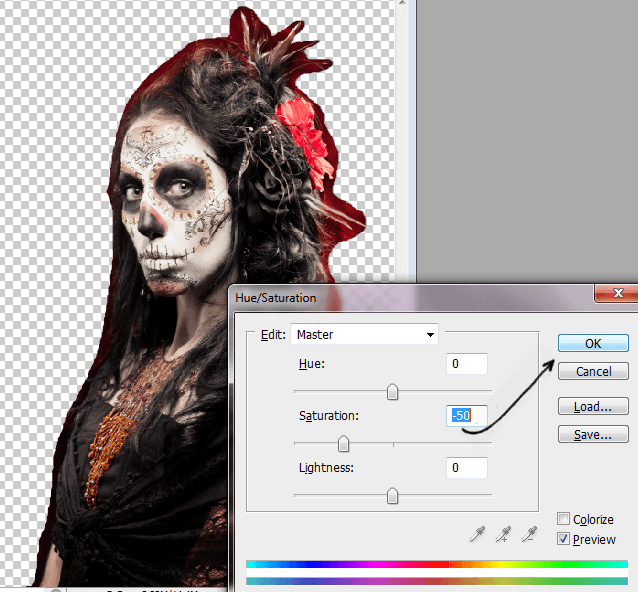
Step 8- Reduce the Saturation
Press Ctrl + U. Or go to Image -> Adjustments -> Hue/ Saturation. In the option Saturation reduce at -50.
No comments:
Post a Comment