AKVIS Retoucher is an efficient tool for photo restoration and photo retouching. Retoucher removes dust, scratches, stains and other defects that appear on damaged photos. The software is also able to reconstruct missing parts of a photo using the information of the surrounding areas. It is also possible to remove date stamps or small irrelevant details (wires, refuse bins, etc) and even bigger objects with the program.
The work is done automatically; you only have to indicate areas to be restored, push the button, and here you are - the surface becomes smooth and imperfections disappear. It looks like magic when you observe the scratches vanishing before your very eyes.
How It Works
- Workspace
- How To Use The Program
- Toolbar
- Parameters
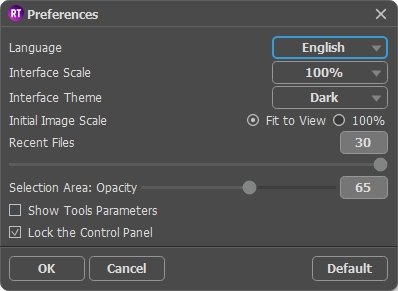
- Preferences
AKVIS Retoucher is your reliable tool for increasing productivity!
AKVIS Retoucher is available as a standalone program as well as a plug-in for graphics editors.
To call the AKVIS Retoucher plug-in open an image in a graphics editor and and choose AKVIS –> Retoucher from the filter menu. In Adobe Photoshop go to Filter –> AKVIS –> Retoucher; in Corel Paint Shop Pro go to Effects –> Plugins -> AKVIS –> Retoucher; and in Corel Photo-Paint go to Effects –> AKVIS –> Retoucher.
- On a Windows computer:- Through the main menu: press Start and select from the pop-up menu the command AKVIS – Retoucher.- Using the program's shortcut on the Desktop: put the cursor on the icon of the program AKVIS Retoucher and double-click it with the left mouse button.
- On a Macintosh computer:- Using Finder: select the folder Applications on the side bar of the Finder window, select the application AKVIS Retoucher and double-click it.
The workspace view depends on which editing mode is chosen in the Control Panel: Express or Advanced.
In Express mode, the program's interface is extremely simplified, with a minimal set of tools designed to quickly achieve a satisfactory result.
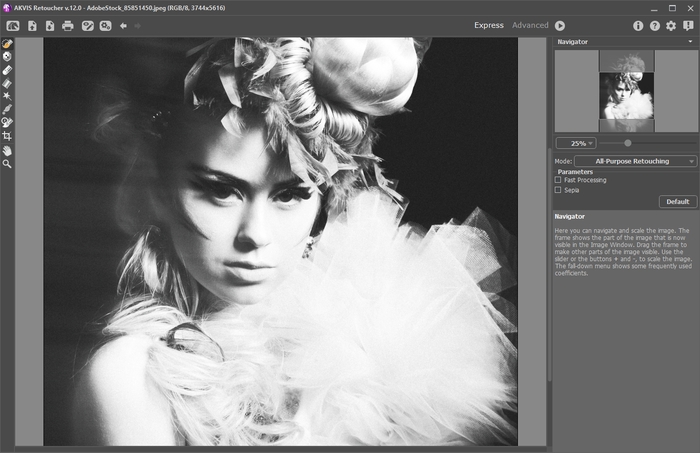
AKVIS Retoucher Workspace (Express)
In Advanced mode, all options and tools are available.
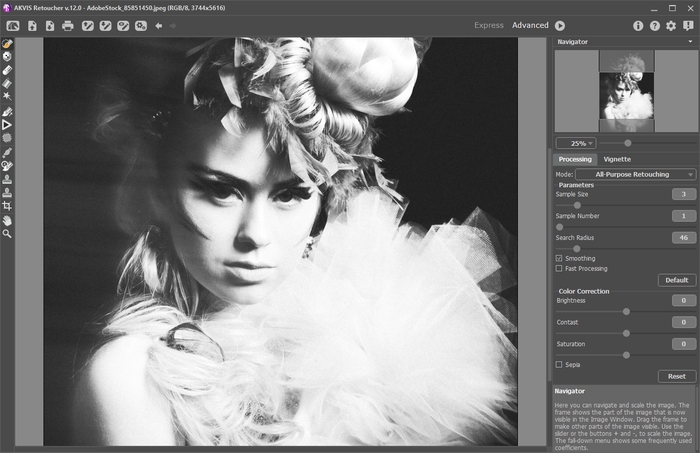
AKVIS Retoucher Workspace (Advanced)
Most of the program's workspace is taken up by the Image Window, above which is the Control Panel.
You can hide/show the Control Panel by clicking on the small triangle button (in the middle of the panel). The minimized panel will be shown when moving the cursor over it. You can use the Lock the Control Panel option (in the Preferences) to prevent changes and keep the panel visible all time.
The Control Panel has the following controls:
- The button
 opens the home page of AKVIS Retoucher.
 - The button
 (only in the standalone version) opens the image which will be edited. The hot-keys are Ctrl+O on Windows,
  +O on Macintosh.Right mouse click on this button displays the list of recent files. You can change the number of recent documents in the program's Preferences.
 - The button
 (only in the standalone version) saves the edited image to a file. The hot-keys are Ctrl+S on Windows,
  +S on Macintosh.
 - The button
 (only in the standalone version) is used to print an image. The hot-keys are Ctrl+P on Windows,
  +P on Macintosh.
 - The button
 loads selected areas that have been saved to a file (.retouch).
 - The button
 saves selected areas to a separate file in the .retouch format.
 - The buttons
 /
/  show/hide selected areas.
 - The button
 cancels the last action. If it is pressed multiple times, it will cancel several previous actions. This can also be activated with the keyboard, by pressing Ctrl+Z on Windows,
  +Z on Macintosh.
 - The button
 restores an action cancelled by
  .
.
An action can also be restored with the keyboard, by pressing Ctrl+Y on Windows, +Y on Macintosh.
 - The button
 begins the restoration process. The hot-keys are Ctrl+R on Windows,
  +R on Macintosh.
 - The button
 (only in the plug-in) applies the processing result and then closes AKVIS Retoucher.
 - The button
 shows information about the program.
 - The button
 opens the program's help files. The hot-key is F1.
 - The button
 opens the Preferences dialog box.
To the left of the Image Window there is the Toolbar. Different tools will appear, depending on the workspace mode Express/Advanced chosen. The tools' parameters are shown in the Settings Panel or in a pop-up box after right-clicking in the image window.
Navigate and scale the image using the Navigator. In the Navigator you can see the reduced copy of the image. The frame shows the part of the image that is now visible in the Image Window; the areas outside the frame will be shaded. Drag the frame to make other parts of the image visible. To move the frame, bring the cursor inside the frame, press the left mouse button and, keeping it pressed, move the frame in the Navigator.
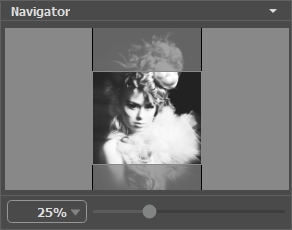
Navigator
To scroll the image in the Image Window you can press the spacebar on the keyboard and drag the image with the left mouse button. Use the scroll wheel of the mouse to move the image up/down, by keeping the Ctrl on Windows ( on Macintosh) key pressed – to the left/to the right, by keeping the Alt (Option on Mac) key pressed − scale the image. Right-click on the scroll bar to activate the quick navigation menu.
Use the slider or the buttons  and
and  , to scale the image in the Image Window. When you click on the
  button or move the slider to the right, the image scale increases. When you click on the
  button or move the slider to the left, the image scale reduces.
You can also change the image scale by entering a new coefficient into the scale field. The fall-down menu shows some frequently used coefficients.
You can use hot-keys to change the image scale + and Ctrl++ ( ++ on Mac) to increase the image scale and - and Ctrl+- (
 +- on Mac) to reduce the scale.
Under Navigator is the Settings Panel with parameters for the algorithm and tools.
Under the Settings Panel you can see Hints for the parameters and buttons when you hover over them with the cursor.
To retouch photos using AKVIS Retoucher, follow these steps:
- Step 1. Start the AKVIS Retoucher standalone or a graphics editor, if you wish to use the AKVIS Retoucher plugin.
- Step 2. Open the image, which needs to be restored or edited, from which unnecessary details and defects need to be removed.To use the plug-in:
- Select File -> Open from the graphics editor's menu or the keyboard shortcut Ctrl+O (
 +O in Macintosh) to call the open file dialog and select the desired image file.
- In the standalone program (using a file in RAW, TIFF, BMP, JPEG or PNG formats):- The Select File To Open dialog box can immediately be called after opening the program by dragging the cursor into the Image Window and double clicking the mouse or by clicking
 on the Control Panel. Also, you can drag and drop the image into the program's workspace.
- Select File -> Open from the graphics editor's menu or the keyboard shortcut Ctrl+O (
- Step 3. If you are using the AKVIS Retoucher plug-in, call it from the menu by choosing Filter –> AKVIS –> Retoucher in Adobe Photoshop; Effects –> Plugins -> AKVIS –> Retoucher in Corel Paint Shop Pro; or Effects –> AKVIS –> Retoucher in Corel Photo-Paint.Selections made in the graphics editor will be transferred to the plug-in.
- Step 4. The first time the program starts it will be in Express mode, with a simplified interface and a minimal set of tools designed to quickly achieve a satisfactory result.
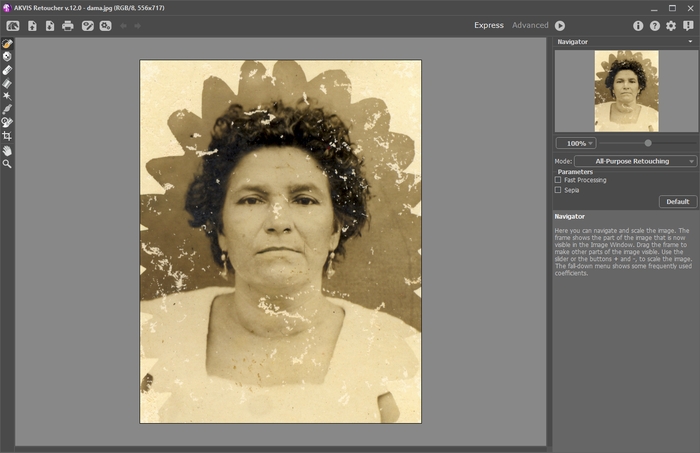
AKVIS Retoucher Workspace ("Express" Mode)Experienced users can work in the advanced editing mode. Switch to this mode by clicking Advanced in the Control Panel: the interface's appearance will change, providing access to the full functionality of the program.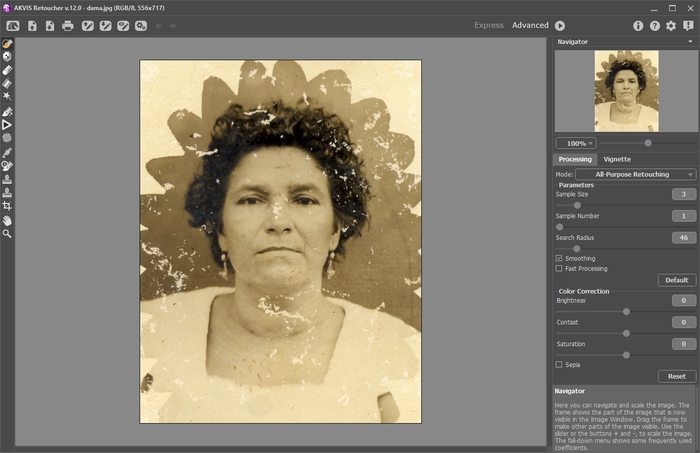
AKVIS Retoucher Workspace ("Advanced" Mode) - Step 5. Mark the areas of the image which need to be retouched. It might be a scratch, text, or a small object which needs to be removed. Selections made in the graphics editor will be transferred to the plug-in.You can use the following tools to make a selection: Selection Brush
 , Exclusion Tool
  , Eraser
  , Selection Bucket
  , andMagic Wand
  .The selected areas will be highlighted in red.
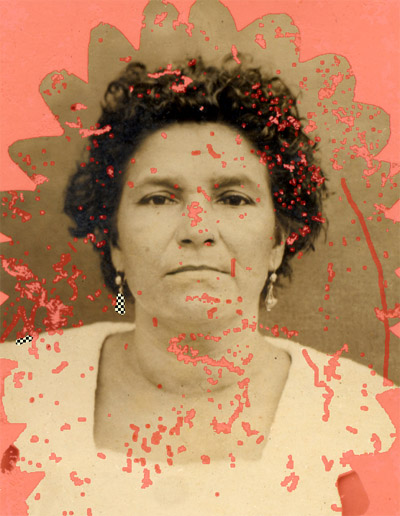
Defects MarkedYou can save your work on a selection to a file (in .retouch format) with the button. You can then load this selection at any time by pressing the
  button.
 - Step 6. When working in Advanced mode, selection areas can be processed further using the tools Linear Retouch
 and Patch
  .More about using these tools can be learned from these examples.
 - Step 7. Press
 to start reconstructing the image. The hot key for this operation is Ctrl+R (
 +R on Macintosh).If you are not satisfied with the result, you can make correct the selection areas or adjust the algorithm's parameters in the Settings Panel and start processing the image again.The result will immediately begin to appear after processing has started. If you are sure that the result will not turn out as you would like, you can interrupt processing by clicking on the Cancel button, which is located to the right of the progress bar, then make changes to the parameters and start processing again by pressing
 .
.- Note: In Advanced mode you can use Local Run
 to focus more clearly on individual selections in the image. Press L to quickly access this tool. Processing begins after you click on an individual selected area. You can work step by step, selection by selection, fine-tuning the parameters to restore each selection more effectively. This is useful when you want to remove a large, complex object. If the processing result is not entirely successful, it is possible to undo the change with the
  /
/ buttons and make a correction (for example, remove unnecessary fragments, change the selection or the algorithm's parameters, apply a patch, etc.)
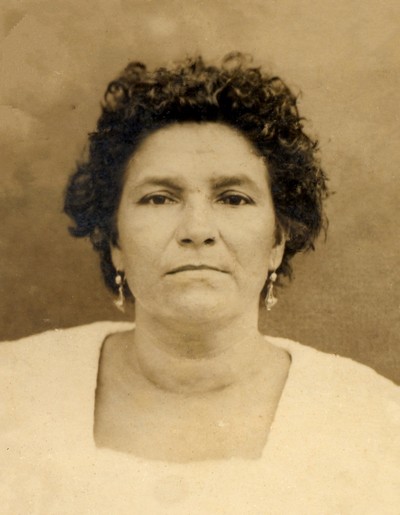
Result of Automatic Processing - Step 8. Those using the Home Deluxe and Business have the opportunity to perform post-processing with the tools Clone Stamp
 ,Chameleon Brush
  , and Spot Remover
  .
.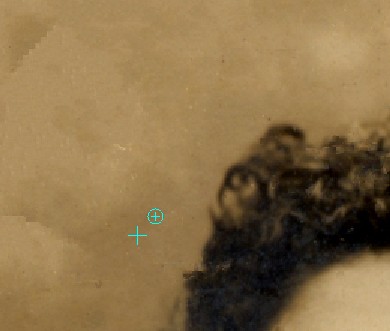
Post-Processing with the Clone Stamp - Step 9. Press the
 button to apply the result (in the plug-in only). The AKVIS Retoucher plug-in's window closes, and the image is returned to the graphic editor's window.
Result - Step 10. Save the resulting image.- When using the plug-in:
- Open the save file dialog File -> Save As in the graphics editor, type a file name, specify a file format and choose a folder, in which to save the file.
- When using the standalone:- Press the
 button and in the Save Image dialog window, type a name for the file, select a format (TIFF, BMP, JPEG or PNG), and choose a folder in which to save the file.
- Step 11. In the standalone version of AKVIS Retoucher it's possible to print the resulting image. To do this press the
 button, set the printing options and press the Print button.
See our video tutorials on YouTube (AKVIS Video Channel).
The step-by-step instructions will give you a glimpse into the way it works.
The step-by-step instructions will give you a glimpse into the way it works.
The Toolbar contains a group of tools used to select and retouch images. A tool's parameters can be adjusted in the Settings Panel, or in a pop up window, which appears after bringing the cursor into the image window and clicking the right mouse button.
To draw a straight line, select a starting point by clicking the left mouse button, then, while holding down Shift, drag the cursor with the mouse to a new location on the image, click the left mouse button again and release Shift. If Shift is not released, a new line will be drawn to each point where the left mouse button is clicked.
The tools are divided into four sets. Different tools are visible, depending on the workspace mode Express/Advanced chosen.
- The Selection Brush
 is used to highlight areas and details that need to be retouched. The transparency of lines made with the brush can be changed in the Preferences dialog. Press B to quickly access this tool.If the Keep Exclusion Area is activated, the brush can not draw in excluded areas.
 - The Exclusion Tool
 is used to protect areas. Parts of the image marked by this tool will be excluded from the area used for calculation. You can use this tool to mark areas adjacent to a selection to prevent them from being cloned.If the Keep Selection check box is activated, the tool can not draw in selected areas.
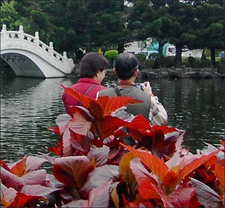
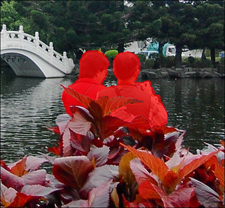
Original Image Selection 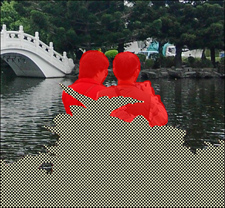
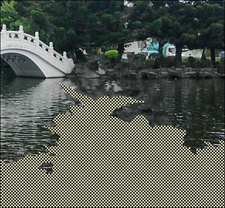
Area to be excluded is marked Area is excluded from reconstruction 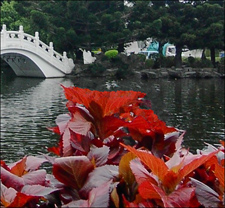
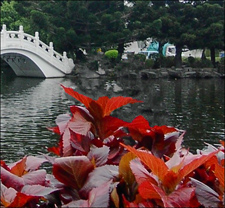
Result without using the exclusion tool Result when exclusion tool is used - The Eraser
 erases lines. Press E to quickly access this tool. The following modes can be selected:- erase all lines;
- erase only selection area;
- erase only exclusion area. - The Selection Bucket
 fills an area outlined with the Selection Brush
  (useful for selecting large areas).
 - The Magic Wand
 selects all pixels of the same color. When the value of Tolerance is increased, more colors are included in the selected area.If the Contiguous Mode check box is activated, only adjacent pixels of the same color are selected. If it is deactivated, all pixels the same color throughout the image will be selected. This tool is useful for selecting one color objects, text, etc.
- Linear Retouch
 allows you to restore the background in a specified direction: for example, to align the junction of areas or preserve the smooth edges of an object. Lines should be drawn as long as possible, into the red zone or across it.Parameters:Gradient. If this check-box is activated, areas between the beginning and the end of the line will be restored evenly, with a smooth transition between one part of the image and another. If this is not the result you want, deactivate the check box.
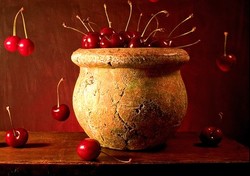
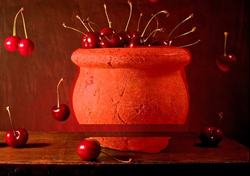
Original Image Linear Retouch
(Smooth Transition)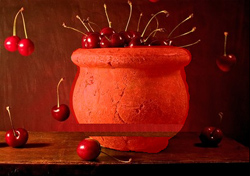
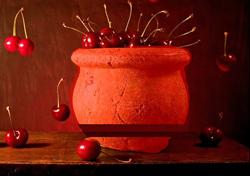
Restoration from left to right
('Gradient' Check Box Not Activated)Restoration from right to left
('Gradient' Check Box Not Activated)Zone of Influence affects the width of the area which is restored. The higher the value, the wider the restored area will be.

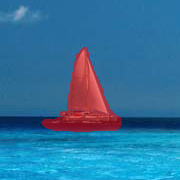
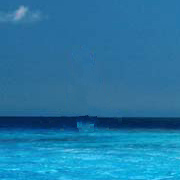
Original Image Selection Result without
Linear Retouch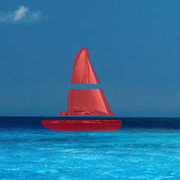
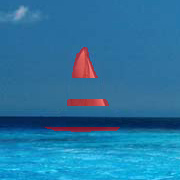
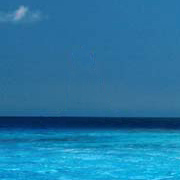
Zone of Influence = 2 Zone of Influence = 8 Result using
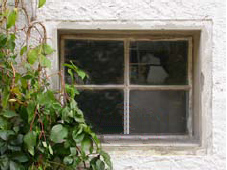
Linear RetouchSearch Distance affects the size of the area from which fragments are taken, which are used to restore along a line. A large value increases processing time and may lead to the capture of unwanted fragments.
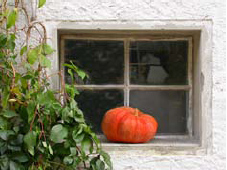
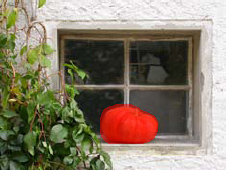
Original Image Selection 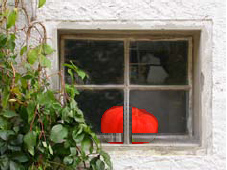
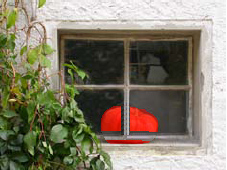
Search Distance = 1 Search Distance = 5 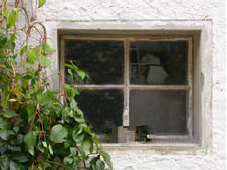
Result without
Linear RetouchResult with
Linear Retouch - Patch
 restores by copying similar square fragments from other parts of the image. To apply a patch, bring the cursor over the appropriate area, hold down the left mouse button, then drag the clone into the red area.Parameters:Patch Size affects the size of the patch used in restoration.
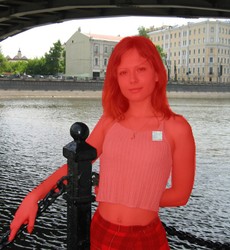
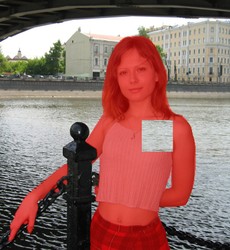
Patch Size = 15 Patch Size = 50 - Local Run
 is used to process selected areas of the image individually. Processing begins by clicking on a selected area. You can focus more clearly on individual selections, fine-tuning the parameters to restore each selection more effectively. Press L to quickly access this tool.
Post-Processing Tools (available for Home Deluxe and Business licenses):
- Spot Remover
 removes small imperfections on an image: stains, dust, etc. You can also use it to retouch portraits, it looks like it "heals" skin problems. Just click with the tool on the defect. Press O to quickly access this tool.
 - Clone Stamp
 copies parts of an image from one area to another while preserving the cloned area's original color palette, shadows, textures, lighting, and other characteristics. Press S to quickly access this tool.
 - Chameleon Brush
 copies parts of an image from one area to another, while taking into account the color palette, shadows, textures, lighting, and other characteristics of the background, onto which the clone is placed. Unlike the Clone Stamp, this tool preserves the texture of the image. Press H to quickly access this tool.
Tools' options:
You can change the Size of these tools.
For Clone Stamp  and Chameleon Brush
  you can also select the cloning method (Aligned on/off).
Also, for Clone Stamp  it's possible to adjust Hardness (blurriness of the fragment's edges) and to mirror a clone horizontally and/or vertically:
Activating the Flip Horizontal check-box allows a clone to be mirrored along the standing axis, i.e. interchanging the left and right sides.
Activating the Flip Vertical check-box mirrors a clone by turning the image upside down.
How to work with Clone Stamp  and Chameleon Brush
  :
:
Select an area to be cloned by holding down Alt on Windows or Option on Macintosh.
To remove a part of the clone, press the Ctrl-key on Windows /  on Macintosh, and keeping it pressed draw over the area.
- This
 button activates the Hand tool, which allows you to scroll the image when it does not fit within Image Window at the desired scale. To use it click on the button, bring the cursor over the image, and while keeping the left mouse button pressed move in the desired direction.
 - The button
 activates the Zoom tool, which changes the image's scale. To zoom in left click on the image. To zoom out left click with Alt on the image. Press Z to quickly access the tool.
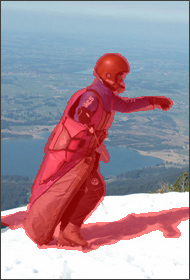
AKVIS Retoucher reconstructs missing parts of a photo by using information from surrounding areas (we'll call them samples).
You can adjust the algorithm's parameters in the Settings Panel:
| ||||||||||||||||||||||||||||||||||||||||||||||||

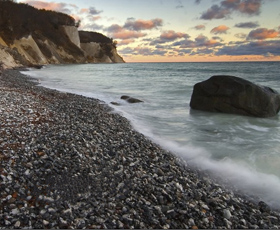
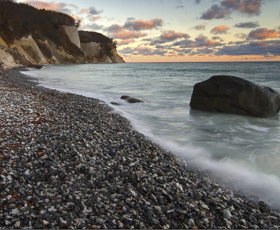
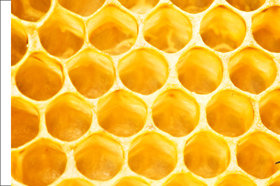
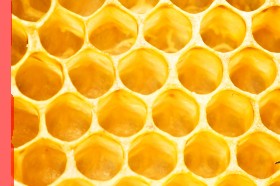

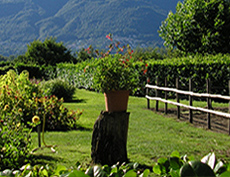
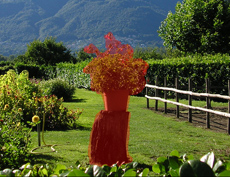
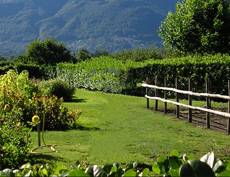
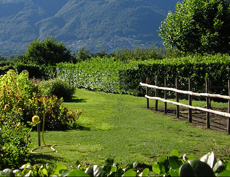



Adobe Photoshop is great when you need to do detailed image editing and basic design works. There is nothing that comes close when editing photos for online or print use, but it's not a tool to do layouts or vector designs. I use it for clipping path service to my clients.
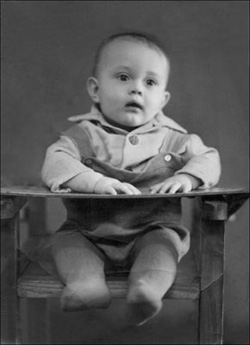
ReplyDeleteYour pictures are the perfect testimonial why photo retouching is important. Most of the time designers use healing brush tool, spot healing tool, and patch tool to retouch their pictures in photoshop. By the way, image retouching is quite easy with the Adobe Photoshop software.
ReplyDelete